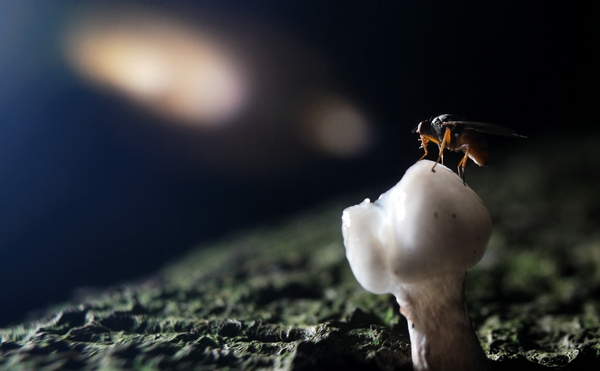
Macro photography can be pretty light
consuming. You want to maximize depth of field, so you close your aperture to
f/11, or even smaller. To get to greater magnifications you might use extension
tubes, reducing the light reaching your sensor as well. Or to get rid of the
harsh shadows you put a scrim over your working area, etc. To put it shortly,
some extra light would be nice.

The first time I encountered this, I was
still photographing with a point and shoot. But firing the flash was no option,
as I found out that the lens barrel was blocking most of the light. Unfortunately
most of the on camera flashes will not be useful for macro photography because
of this.
However, there’s also external flashes. I have
always been very enthusiastic about external flashes, and the moment I started
with macro photography I have been using them. Basically you can use them in
two ways, on your hot shoe (on-camera) or external. First I will cover
on-camera use.
On-camera use of our flashes is the easiest
way of using them. If you use modern lenses and flashes they even communicate
to each other, and make a good exposure. But even without this auto-exposure
you are very well able to make good photographs. Typically the distance to your
lens doesn’t change much, as you want to keep a certain magnification. So the
area between the subject and your flash doesn’t change.
A commonly heard complaint about flashes is
that they produce hard ugly light. First of all hard light can be really
beautiful (but that will be another post in the future), but the light coming
from your flash actually is really soft. Your subject matter is really small
compared to your flash head, and your flash will be close to your subject, so
the light from your flash is still able to wrap around your subject. I took
this photo with my SB-24 mounted on my camera, with a diffuser dome.
As you can see, it doesn’t look like your
typical hot shoe mounted flash picture, as the light is quite soft.

However, there are disadvantages, as your
distance from flash to subject is very small, you will get fast fall-off. If your
exposure mainly depends on the flash output, you will get dark backgrounds. You
could search for backgrounds which are also quite close to your subject, which
will catch more light. Don’t be afraid of distracting backgrounds, as they will
be out of focus anyway, due to the small DoF.
Or you could make use of your ambient
light. The photo shown above is taken 1 o’clock, in the harsh sun. Even though
my flash is my main light, the sun increased the exposure on my background. (That’s
why I like to do macro photography, since I’m able to control my exposures
anyway, I can do it at any time of the day)
Off camera flash is another option. It can
create more dramatic light, and I like it better than on-camera flash. However,
compared to on-camera flash, you are less mobile, since you also have to move
your light. Besides that, if your subject moves, your flash exposure will
change as well. This can be especially difficult since most of us will be using
non-TTL triggers / cords / non-TTL flashes. I just hope for the best, and try
to move my flash along with my camera, and usually I’ll be all right. Don’t get
discouraged because you blow a few exposures, because after some practise you
will remember to move your flash.

Again, you don’t have to diffuse the light
that much, although I like to diffuse it more. Soft light is more forgiving,
and also will create less harsh shadows. (Again, the sun can be your friend and
can fill up the shadows) As I use extension tubes, most of my pictures mainly depend
on flash for their exposures. This can result in very dark shadows on the other
side of your subject. (As you can see in the photo below) Normally an envelope put over the head of the flash is enough,
providing very soft light.

So basically, if you want to be very
mobile, or your subject moves a lot, mounting the flash on your camera can be a
good option. But I prefer to fire my flash from a slight angle to my subjects,
so when I can, I will use my flash off-camera.